The Solo Stove Pi Prime Pizza Oven is not just a piece of equipment; it’s a transformative outdoor cooking experience. Its promise to be both simple for beginners and sufficiently advanced for the seasoned chef had me intrigued from the start. As someone who loves both the outdoors and gourmet cooking, I found the Pi Prime to be a perfect fusion of these passions.
First Impressions and Design
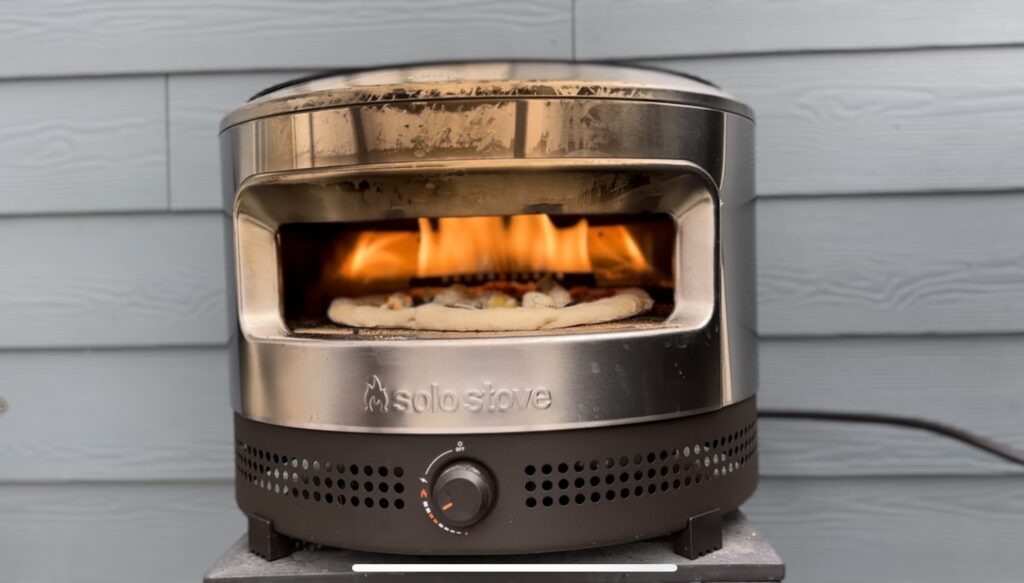
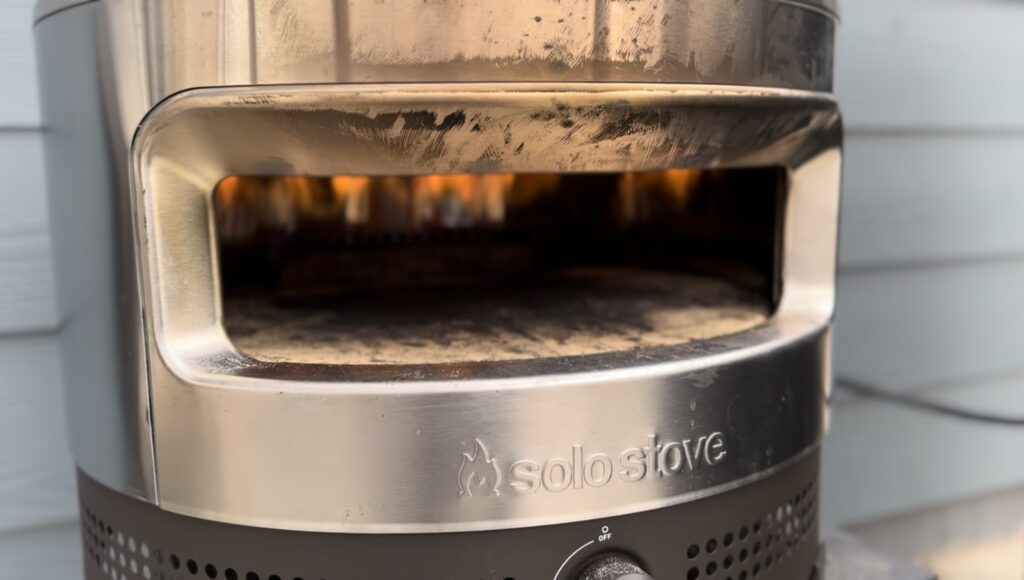
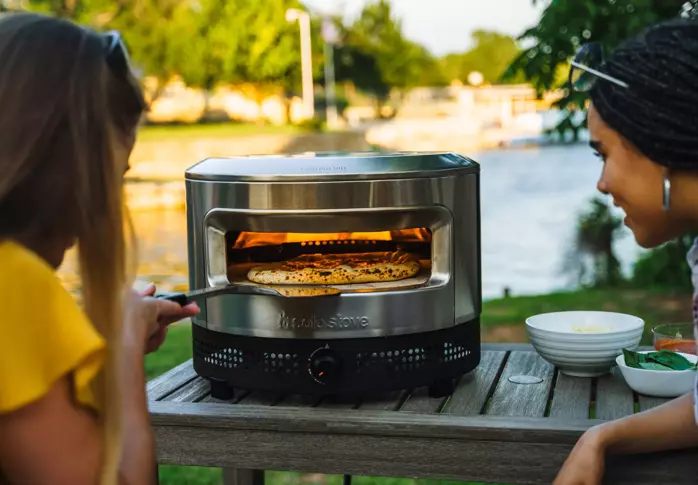
Unboxing the Pi Prime, I was immediately struck by its sleek and sturdy design. The stainless steel construction gave it a professional look and the feeling of durability that’s essential for any outdoor gear. Its panoramic opening is not just a design element; it’s functional, allowing me to watch the pizza as it cooks, adding to the anticipation.
Ease of Use – A Beginner’s Perspective
Setting it up was a breeze. The intuitive design meant I didn’t have to fumble through complicated instructions. Within 15 minutes, the oven was preheated and ready to go – a feature that can’t be overstated when you’re hungry and outdoors. The front-facing temperature control felt like having a professional kitchen tool in the wild, allowing me to adjust the flame and heat with surprising precision.
Performance – The Proof is in the Pizza
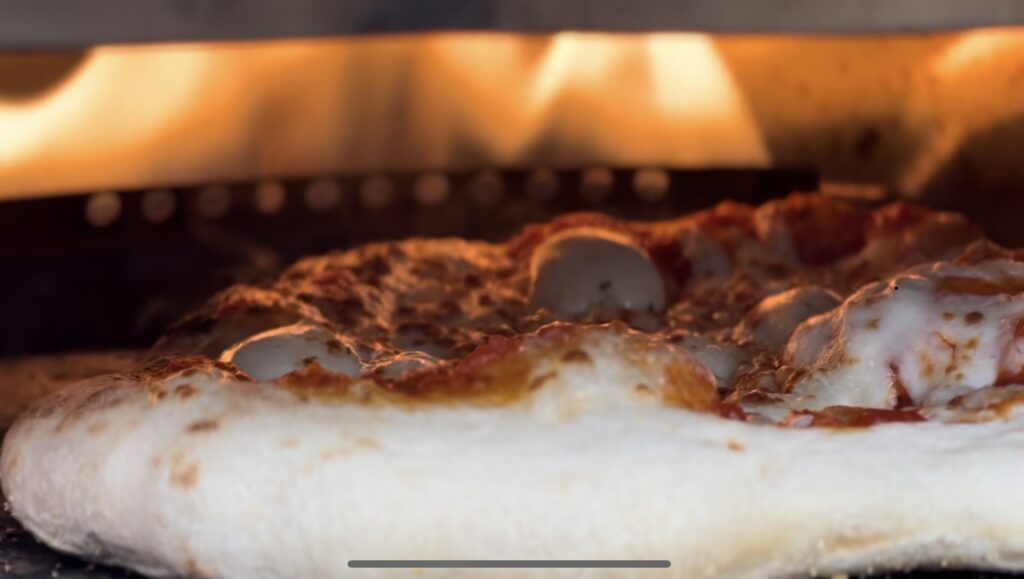
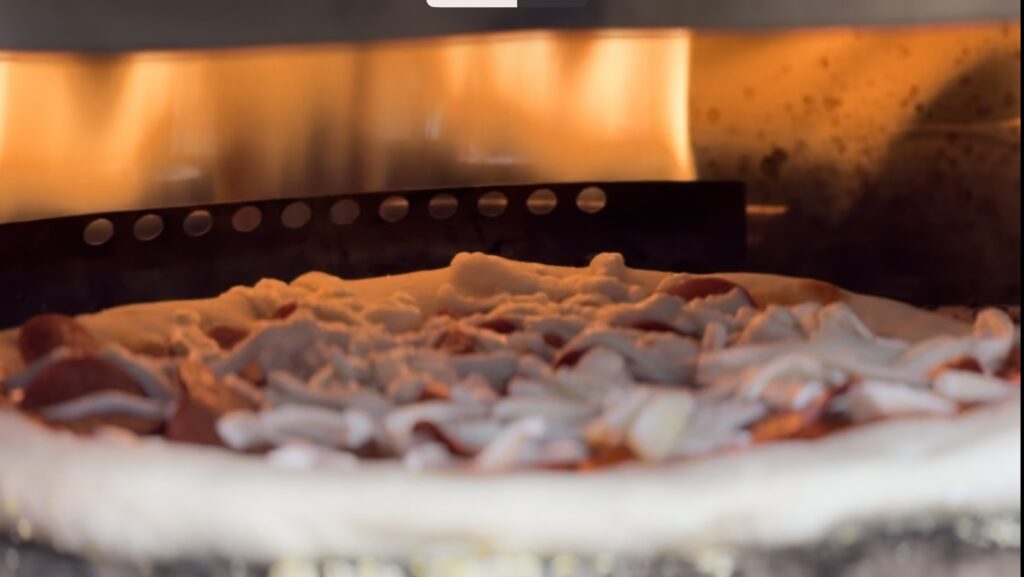
The performance of the Pi Prime is where it truly shines. The demi-dome design and the cordierite stone surface work in tandem to create the perfect cooking environment. My first attempt at a pizza resulted in a beautifully crispy crust with a perfectly melted top – a result I had previously thought was only achievable in high-end pizza ovens.
Personal Cooking Experience – Tips and Tricks
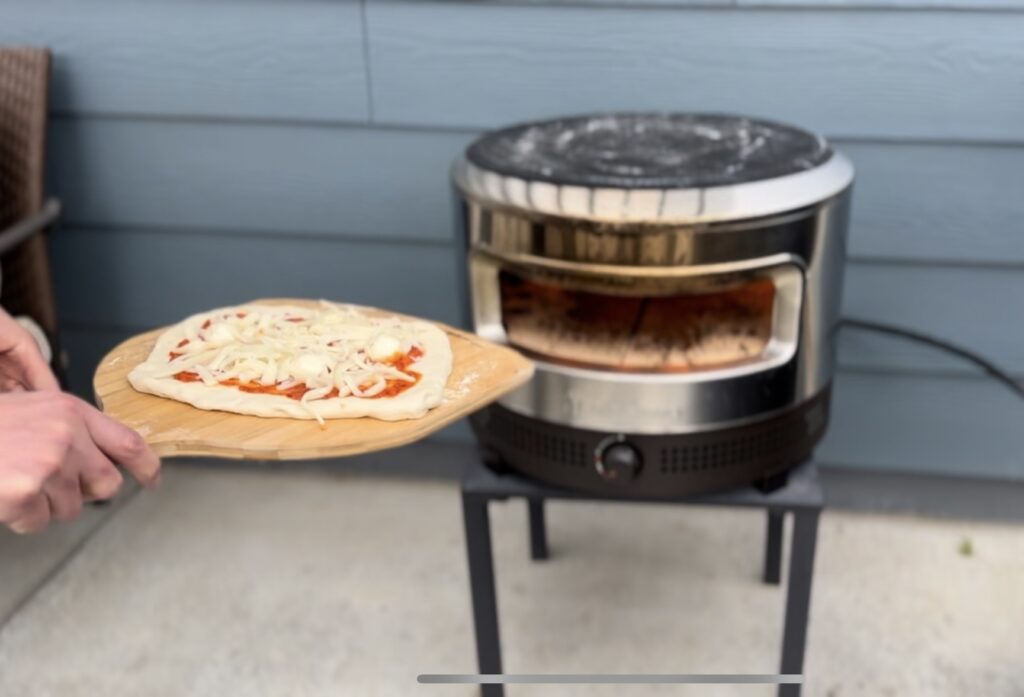
As with any new cooking tool, there was a learning curve. Mastering the art of sliding the pizza off the peel took a few tries. My trick was using a mixture of flour and coarse cornmeal, which proved to be a game-changer. Remembering to give the peel a little shake with each added topping ensured the pizza didn’t stick. Once in the oven, rotating the pizza after the initial 20 seconds made sure it cooked evenly. In just 90 seconds, I had a pizza that could rival those from artisan pizzerias.
Versatility and Portability
One of the most impressive features of the Pi Prime is its portability. Weighing just over 30 lbs, it’s surprisingly easy to transport, making it a staple for my camping trips and scout events. It’s fascinating to see how a device like this can transform a typical outdoor meal into an extraordinary culinary experience. It’s a great way to teach young scouts or family members about cooking, and it certainly beats the usual hot dogs and mac and cheese.
Elevating Outdoor Events
Using the Pi Prime at scout events has been particularly rewarding. Preparing the dough and toppings beforehand turns pizza-making into an interactive group activity, much to the delight of the scouts. It’s a fantastic way to introduce them to the joys of cooking and to elevate the typical outdoor meal experience.
Conclusion
After several uses, I can confidently say that the Solo Stove Pi Prime Pizza Oven is a revolutionary addition to outdoor cooking. Its combination of ease of use, superb cooking performance, and portability makes it ideal for a wide range of outdoor activities. Whether you’re an experienced chef or new to cooking, the Pi Prime is a rewarding investment that brings a touch of gourmet to the great outdoors. It’s not just about making pizza; it’s about creating memorable experiences wherever you go.
Homemade Pizza Dough Recipe for Perfect Crusts
Create delicious, homemade pizza crusts with this simple yet classic recipe. Ideal for your next outdoor adventure with the Solo Stove Pi Prime Pizza Oven or a cozy night in. This recipe yields up to four 10-inch crusts, perfect for a family gathering or a small party.
Ingredients:
- 2 cups warm water (105 degrees F)
- 2 tablespoons granulated sugar
- 2 tablespoons active dry yeast
- 2 tablespoons olive oil
- 4 to 5 cups all-purpose flour
- 2 teaspoons fine sea salt
Instructions:
- Prepare the Yeast Mixture:
- In a large mixing bowl, combine the warm water and granulated sugar. Stir until the sugar is mostly dissolved.
- Sprinkle the active dry yeast over the water-sugar mixture. Let it sit for about 5 minutes, or until the mixture becomes frothy, indicating the yeast is active.
- Mix the Dough:
- To the yeast mixture, add the olive oil, 4 cups of flour, and sea salt. Using a wooden spoon or a dough hook attachment on your mixer, begin to mix the ingredients. If the dough is too sticky, gradually add more flour (up to 1 additional cup) until the dough begins to form a cohesive, elastic ball and pulls away from the sides of the bowl.
- Knead the Dough:
- Turn the dough out onto a lightly floured surface.
- Knead the dough by hand for about 10 minutes or until it is smooth and elastic. Add a little flour if the dough becomes too sticky, but be careful not to add too much, as this can make the dough tough.
- First Rise:
- Place the dough in a clean, oiled bowl, turning it once to coat the entire ball of dough with oil.
- Cover the bowl with a damp cloth or plastic wrap, and let the dough rise in a warm, draft-free area for about 1 hour, or until it has doubled in size.
- Punch Down and Divide:
- After the first rise, punch down the dough to release any air bubbles.
- Divide the dough into four equal parts for individual pizza crusts.
- Second Rise:
- Shape each portion into a ball and let them rest, covered, for another 30 minutes. This allows the gluten to relax, making the dough easier to shape.
- Shape the Pizza Crusts:
- On a lightly floured surface, start shaping each dough ball into a 10-inch round crust. You can do this by gently stretching the dough with your hands or using a rolling pin. Aim for an even thickness throughout.
- Prepare for Baking:
- Preheat your pizza oven or regular oven. If using the Solo Stove Pi Prime Pizza Oven, follow the manufacturer’s instructions for preheating.
- If you’re using a regular oven, preheat it to its highest setting, typically around 475-500 degrees F, and place a pizza stone or an inverted baking sheet inside to heat.
- Top and Bake:
- Top your pizza crusts with your favorite sauce, cheese, and toppings.
- Using a pizza peel, transfer the pizza onto the hot stone or baking sheet in the oven.
- Bake for about 10-15 minutes, or until the crust is golden and the cheese is bubbly.
- Enjoy:
- Remove the pizza from the oven, slice, and enjoy your homemade creation!
Remember, the key to a perfect pizza crust is in the kneading and the rise. Don’t rush these steps, and you’ll be rewarded with delicious, homemade pizza every time!