Hey everybody. Sean from Engearment.com here. I’m gonna show you how a splitboard system works. Right here, we have a Never Summer splitboard. This is a spark tip and tail clip. This is a phantom hurcules hooks right here. Made here in Colorado. And the board is made here in Colorado as well by hand. The bindings we are gonna be using today are Karakoram Prime Carbon axis with these custom graphics of Mount Shuksan out in Washington state. Beautiful stuff.


So a splitboard is a snowboard that is cut in half to become two skis. And then as we separate them, this one will go on that side, and this one will come on this side. We’ll apply his skins, and then we’ll ascend the mountain. And I’ll show you how this all works. So you start by taking the bindings off. The Karakoram side up kind of latches down onto the board. Right there.
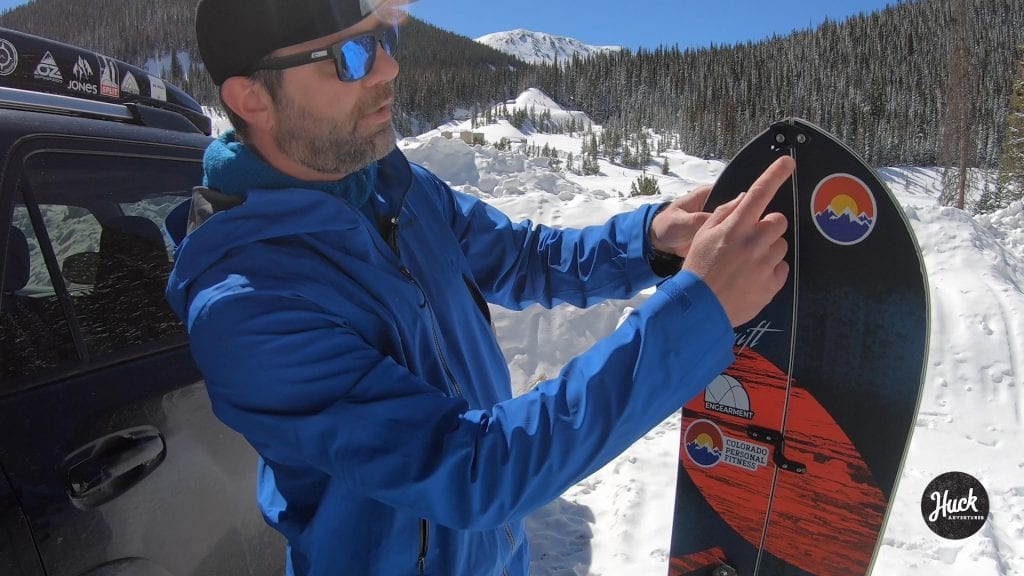
So there’s these two little hooks right here. They attach right there, and then as I open this or close this guy, you’ll see two hooks right here pop through. And it sucks the binding onto the board creating a really good connection. So I’m a big fan of that system, uh it works very well. So I’ll take the other binding off right here. Right there cool.
Alright now we’ve split the board. You can see there’s a connection here, connection there – the tail and the tip. So I’m gonna rotate off here. Just like so. And it’s still connected really well because of the Hercules hooks. And they separate them. And now you have your skis set up. The bindings will go on. I Typically put this one on the outside like that. Right about here, boom, and that’s on there. And I put this one open her up, put her right here, and usually just like that locked into place.
And now you’re ready for touring. Should you get to a part of the mountain that is steeper, you can engage your risers right here. Here is low riser, here is the high riser. And as you can tell right there, that’ll create more, uh, surface area and the skins will get better traction when you’re going up the mountain. Most of the time, I don’t use those unless I’m getting to something really steep at that point. You might want crampons in the first place. So now we’re ready for skins.
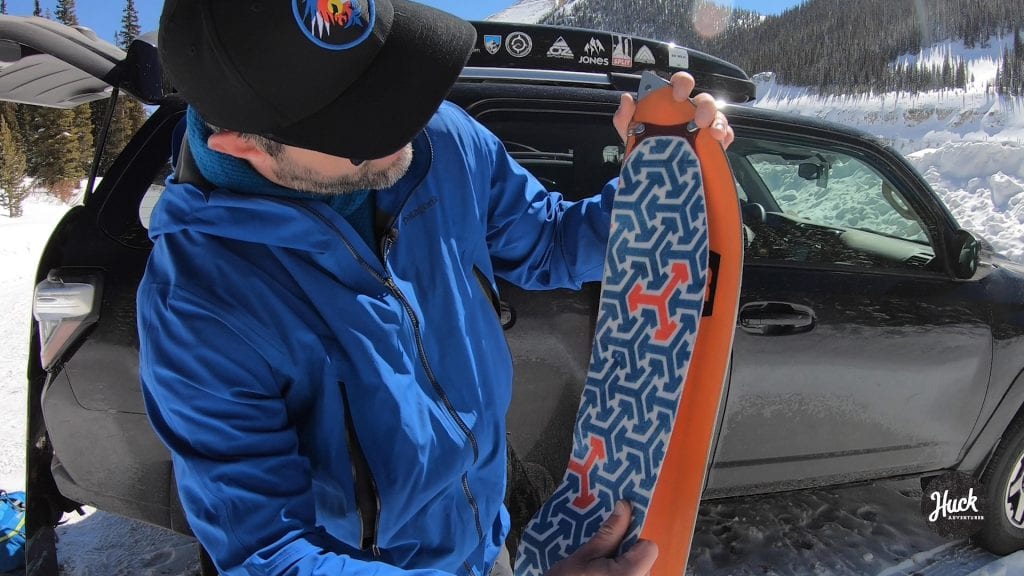
So there’s a few kinds of skins out there different brands. Today, we’re gonna be using G3. These are older, but they still work. The glue has been replaced with a better glue for this season and we have a review on our website of the updated G3 skins, but for all intents and purposes, we’ll use these guys. You can see the glue is very sticky. That’s it’s job. And these have lived on the back of my truck for the last two years, so that’s just how sticky they are. So you match them up right here and right there. And then you kind of make sure that the edges are pretty close right there. So that way, you have good contact and a little bit of edge showin’ on both sides so you can get into the more firm packed snow.
The glue will do a good job sticking to the splitboard, but how it really stays on is these tip connectors right here. So you want this as tight as possible. It’s a little bit – there we go. And it’s on. And that is one ski ready for ascension of the mountain. I smooth it out usually to get any kind of creases out, but that is how you take a solid splitboard into a split for a ski, and then of course you would utilize whatever kind of snowboard boot or splitboard boot you want, and then as always, and a lot of people forget this. Adjust your risers to tour mode. More articulation right there and when you’re ready to snowboard, boom.
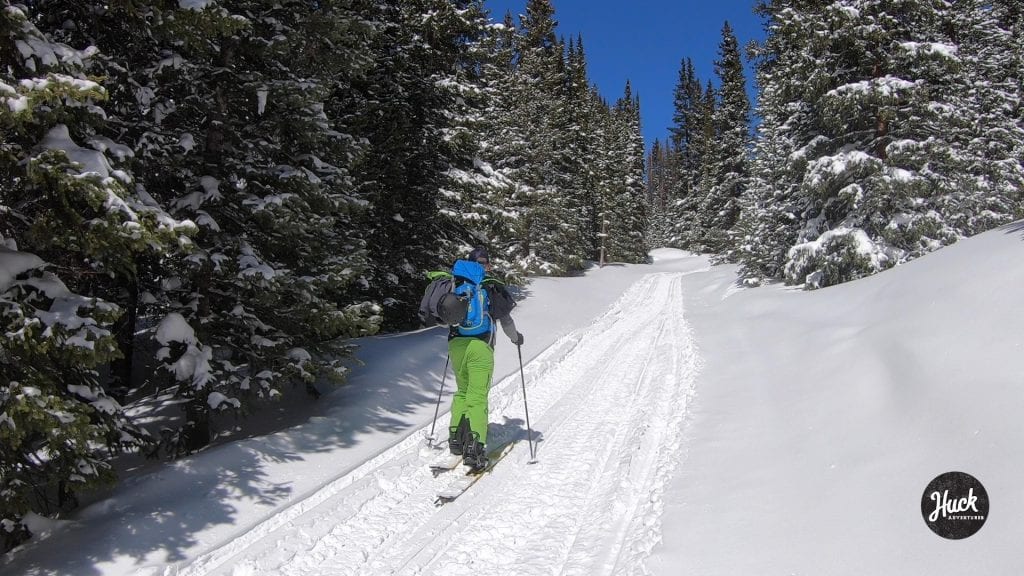
I can’t tell you how many times people forget to do this, but that will elongate your stride and alow you to be more efficient on the way up the mountain. See the idea here is you glide up the path as opposed to stomping like snowshoes.
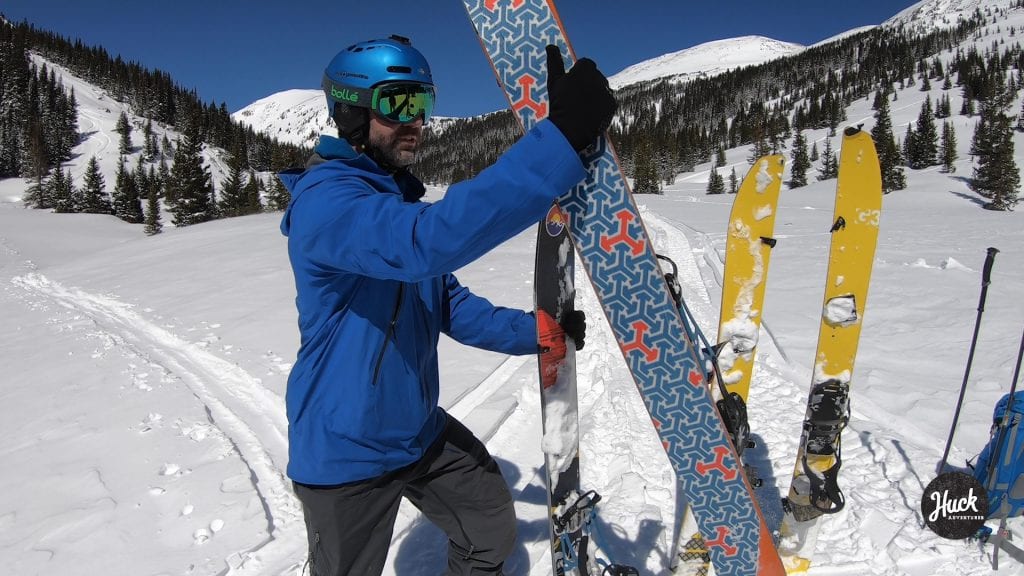
Alright, so we’ve gotten to our destination, we’ve taken our splitboards off of our feet, and it looks like this. So the skin’s on the bottom still. What I’m gonna do is take the skin off. So I go to the tail right here, and it’s nice and taught right now. I’m gonna pull up releasing it. Comes off pretty easy just like that. I’ve folded the skin back onto itself. Some people use cheat sheets or other things. I don’t think it’s necessary. Just the wind is kind of tricky. Line it up – boom – onto itself. And then you can fold it if you want to like that. I’m gonna keep mine like this and stick it in my pocket for a second lap. And it keeps it dry this way, too. Just like that.

Alright, so on this board, I’m gonna show how it goes together. So I clip the splitboard binding through the spark. Secure them. Unclip this one, secure that. Now this board has the Chinese hooks these guys right here. I would leave them open just like this. Make sure this one’s open… and this one’s open. This is super simple. Just line it up, and then voila. Boom. Connection’s made. I do the tip, hear a little click, it’s in place.
Same thing on the tail. It’s a very wet snow, and as the wind hits it, it could be very firm. Makes for a speedy ride down. Boom. Clipped into place. Now with the spark bindings. So these are really simple to use. What I’m gonna do is these are kind of self cleaning. They use a puck system so I’m gonna slide it on right here. Boom. And then I close the ramp. Front bindings on. Rear binding – right here. Line it up, shove it on, close the toe wrap. Boom. And then make sure this is engaged. So I pull that guy down, engage it, and now Ben’s ready to go snowboarding.