fbpx

5 Easy-to-Make Trail Mixes You’ll Love

Trail mixes completely changed the snacking game when it was first introduced back in the 1960’s, giving hikers, runners, athletes and fitness enthusiasts a portable, energy-rich food that complemented their on-the-go lifestyle. This lightweight snack made it infinitely easier to be on the trails for longer periods–a major game changer at the time.

Fortunately for us, we’ve had a lot of innovation in this century, foregoing the boring (but still delicious) trail mixes of peanuts, raisins and M&Ms in favor of a multitude of sweet and savory combinations.

Grocery and health food stores alike have loads of mix-and-match options on their shelves, so it’s never been easier to create your own.

You’ll find an expanded range of offerings, including items like sesame seeds, pumpkin seeds, espresso beans, wasabi peas, banana chips, cereal, granola and more, and we’re here for it. Let’s talk about the fundamentals of good trail mixes before we launch into some ideas.

There are five categories to be mindful of when building your perfect mix — nuts, seeds, dried fruit, grains, and sweets. These items provide the fat, protein, fiber, antioxidants and other essential vitamins and minerals that you need to sustain your energy level, feel full, and remain focused on your goal.

The balance of these ingredients together provide the crunchy, savory and sweet elements that you’re used to, but give you the flexibility to decide what to add based on your preferences. Hate almonds but love cashews? Great, let’s add cashews. Don’t love dried fruit but want something sweet? Cacao nibs it is. Prefer sweet to savory? Go ahead. Add extra chocolate chips. We dare you.

Now, onto our favorite flavor combinations. Note, everyone has their own tastes and nutritional needs, so know that this is not the holy grail. We encourage you to make substitutions and play with your ingredient ratios freely. There are no rules in the land of trail mix.

Without further ado, here are five recipe ideas, from simple and sweet to nutty and savory, that will help you take your trail mix to the next level.

Simple

A quick-and-easy recipe with a few ingredients that are likely already in your pantry.

  • Almonds
  • Pumpkin seeds
  • Dried cherries
  • Dark chocolate chips
  • Pinch of sea salt

Nutty

A rich, filling mix of your favorite nuts, roasted or raw, with a hint of sweetness from the raisins.

  • Almonds
  • Peanuts
  • Cashews
  • Pecans
  • Walnuts
  • Raisins

Savory

Savory and crunchy, this recipe packs a little bit of heat with the addition of wasabi and ginger.

  • Almonds
  • Sesame seeds
  • Wasabi peas
  • Dried ginger
  • Chex cereal

Sweet

A slightly dessert-y combo that will still energize you… thanks, in part, to the coffee beans.

  • Coconut flakes
  • White chocolate chips
  • Hazelnuts
  • Chocolate-covered coffee beans
  • Cacao nibs

Tropical

This mix will give you serious Caribbean vibes. It’s like a pina colada, but healthier.

  • Cashews
  • Brazil nuts
  • Dried mango
  • Coconut flakes
  • Banana chips

Have a favorite flavor combo or masterful edit to one of our suggestions? Let us know in the comments below. We’re all for crowdsourcing some killer trail mix recipes.
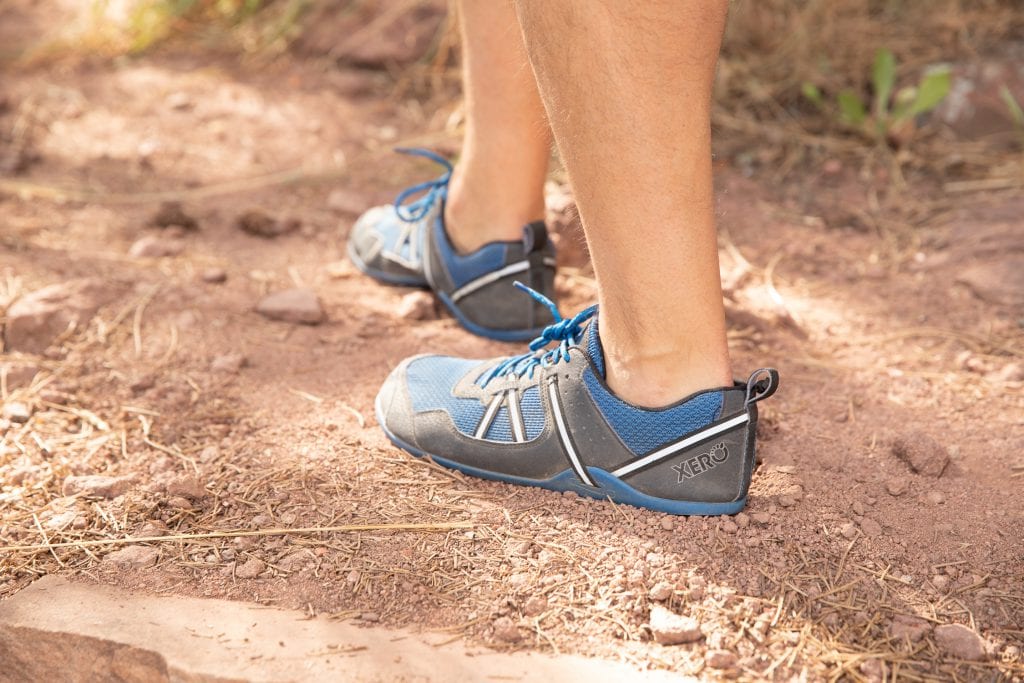
Xero Shoes Prio – Product Review

Xero Shoes Prio
Xero Shoes Prio

Two years ago, I had worn through another pair of minimalist shoes. I had only owned them for three months and my mileage wasn’t anywhere near where it is today. Also, I was living in Kansas City. Most of the terrain I was running on was pavement and sidewalks.

I needed another pair of minimalist shoes for running—ones that wouldn’t wear through. A big piece of why I ran in minimalist shoes was because of sustainability. In theory, and what should be practice, I should be able to run in minimalist shoes for two to three times the mileage modern shoes would get.

I was on the hunt.

Luckily, Steven Sashen of Xero Shoes was an internet marketing whiz and started serving me prospecting and retargeting ads based on my search queries. It was the first time I had heard of Xero Shoes, even though I was familiar with Steven’s first foray in minimalist footwear.

We had actually crossed paths on the internet several years earlier. Steven had started a company creating DIY huarache sandals called Invisible Shoes. His DIY kits were what had inspired me to visit a local cobbler with instructions to cut 4mm Vibram rubber into the shape of my feet.

Xero Shoes Prio

Xero Shoes Prio
Xero Shoes Prio

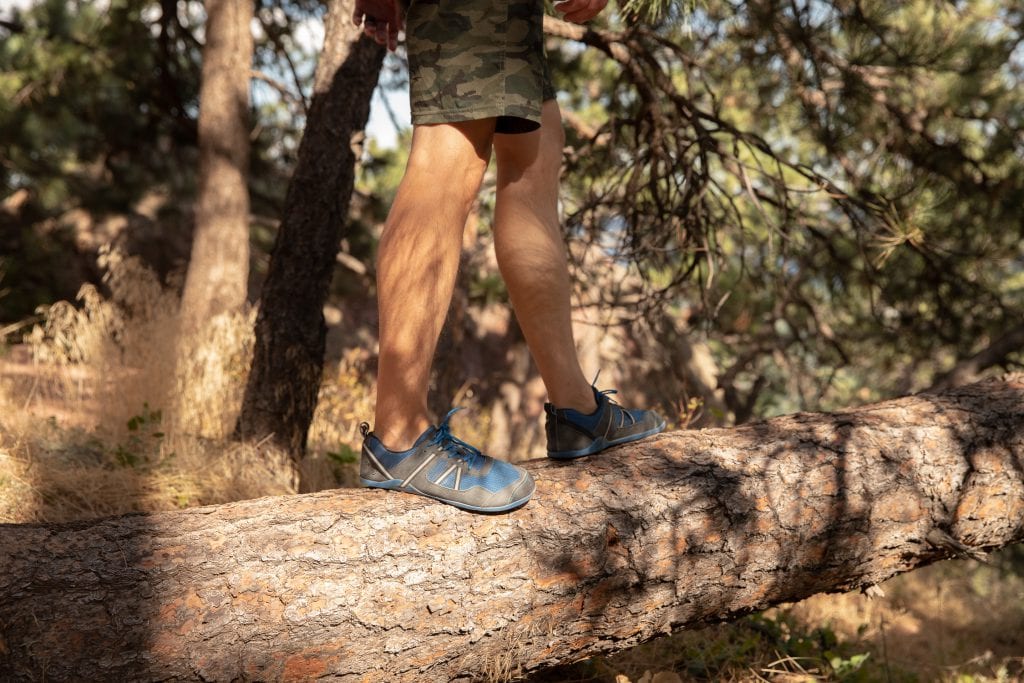
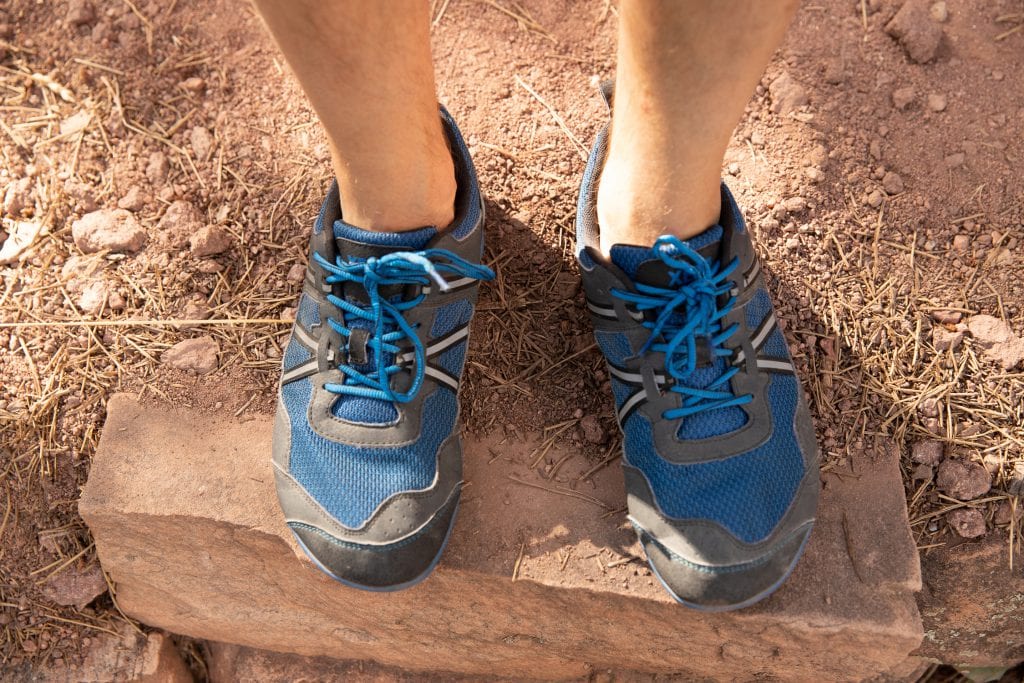
The particular shoes I kept seeing were the Xero Shoes Prio. They are a “performance” shoe made for running, cross fit training, or for everyday use. They are lightweight and flexible, allowing feet to flex, bend, and move naturally. 

The Sole

The Prio uses Xero Shoes’ 5.5mm FeelTrue rubber sole that’s featured on many of their products. One of the things that caught my eye, given my challenges with other minimalist shoes, was their 5,000 mile warranty. If you wear down the sole to 1mm at the heel or ball of the sole, they will replace the product at 60 percent off MSRP, plus shipping. Which is an amazing offer. Challenge accepted. 

Xero Shoes Prio
Xero Shoes Prio

I’ve logged over 500 miles on my Xero Shoes Prio and the soles have held up great. Only 4,500 more to go.

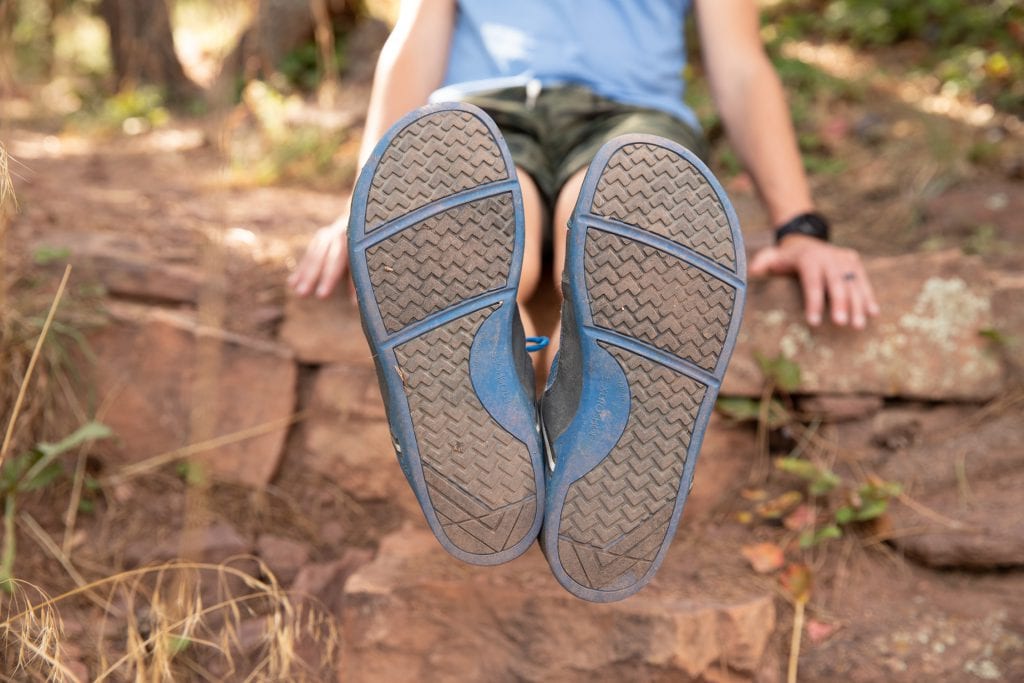
Traction on the sole has held up as well. The bottom of the shoe is covered with arrows pointing forward and backwards to provide traction whether you are moving uphill or downhill. They are deep enough to provide traction on gravel trails, but not enough for more technical terrain. 

The Build

The shoe is constructed with vegan-friendly materials. Even after running 500 miles in them, they’ve held up great.

Xero Shoes Prio
Xero Shoes Prio

The exterior has a huarache-inspired design—a nice throwback to Invisible Shoes—that is a functional part of the design, letting the wearer adjust for a more-perfect fit. It also has an adjustable instep strap so you can lock your foot in place while letting your toes move freely.

Conclusion

The Xero Shoes Prio was an amazing entry point into Xero Shoes. Since that first purchase, I’ve bought five different products. The sole is one of the most durable in the industry, and I’ve enjoyed every run in them.

Please note that Xero Shoes is an affiliate to Huck Adventures, and at no additional cost to you, Huck earns a commission if you decide to make a purchase after clicking through the links above. We appreciate your support!

Beginner’s Guide to Packrafting

Download on the Apple App StoreDownload on the Google Play Store

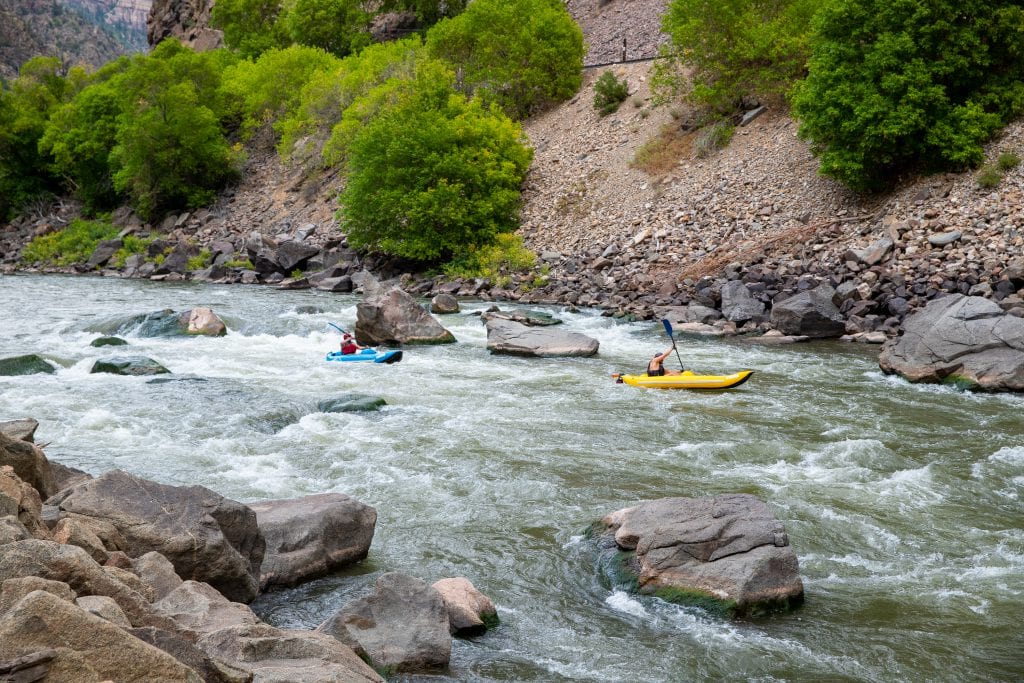
Maybe you’ve heard of packrafting. It’s a relatively new sport (depending on who you’re talking to) that is the ultimate crossover adventure tool. It’s a whacky, sub-10 pound whitewater kayak that will float a couple of people, a whole bike, and even most of an elk.. The key part, and where it gets its name, is that because it’s inflatable and lightweight, you can carry it in your backpack or bike to allow you to go anywhere on your travels. Maybe you’ll take it across the Brooks Range, down the Grand Canyon, or into backcountry creeks. Some people even mount small sails to them. 

What on Earth is a Packraft?

Take a whitewater kayak – a little one – and make it an inflatable boat. Its DNA is certainly more kayak than canoe, as your butt sits in the water and most people use spray skirts and can roll their boats. Now put a zipper in the back, so you can fill the tubes with stuff. Most of the major manufacturers have this feature, and it is truly impressive. You won’t find me floating with a bunch of crap strapped to the outside of my little raft. It rolls down to a 15L wad, and the middle-of-the-road model weighs around seven pounds. And competent paddlers have floated the Grand Canyon (the whole thing) in these boats. Pretty too-good-to-be-true to me.

Who is it for

The boats are used to access backcountry whitewater, link up disparate river drainages, and take you on infinite multi-sport adventures. They have been employed for bikerafting (combining floating with bikepacking), skiraftineering (using the raft as a sled on a ski mountaineering trip and then floating the glacial melt out), multi-stage wilderness racing (like the Wilderness Classic) and backcountry hunters and fishermen. Basically, if there are bodies of water between you and where you want to go, a packraft is a useful tool. They especially shine where the trails and routes give way to watercourses and game trails. They make backcountry loop-style whitewater trips actually fun! If you want to run more whitewater and spend less time thinking about car shuttles, this thing is for you. 

Essential gear

The most obvious piece of gear you need for packrafting is a packraft. Duh. But there are different brands and styles. I personally have an Alpacka Raft. Sheri Tingey, the mastermind at Alpacka Raft, created the modern packraft, from which all other modern rafts are imitators, but not less than. Within both of the major manufacturers, Kokopelli and Alpacka, there are four classes of boats: ultralight, all-rounder, whitewater and cargo. Make sure you are buying a boat to suit your needs. The differences between the styles are quite sizable. 

Of course, not all of your regular whitewater gear will work for packrafting. Most packrafters carry four-piece paddles, ultralight helmets, slimmed down PFDs, dry/wet suits and varied rescue systems. These, again, depend on your adventure. Class V Alaskan creek boating will look different from desert bikerafting. The less whitewater involved, the more stripped-down the gear. Some people even strap trekking poles to paddle blades!

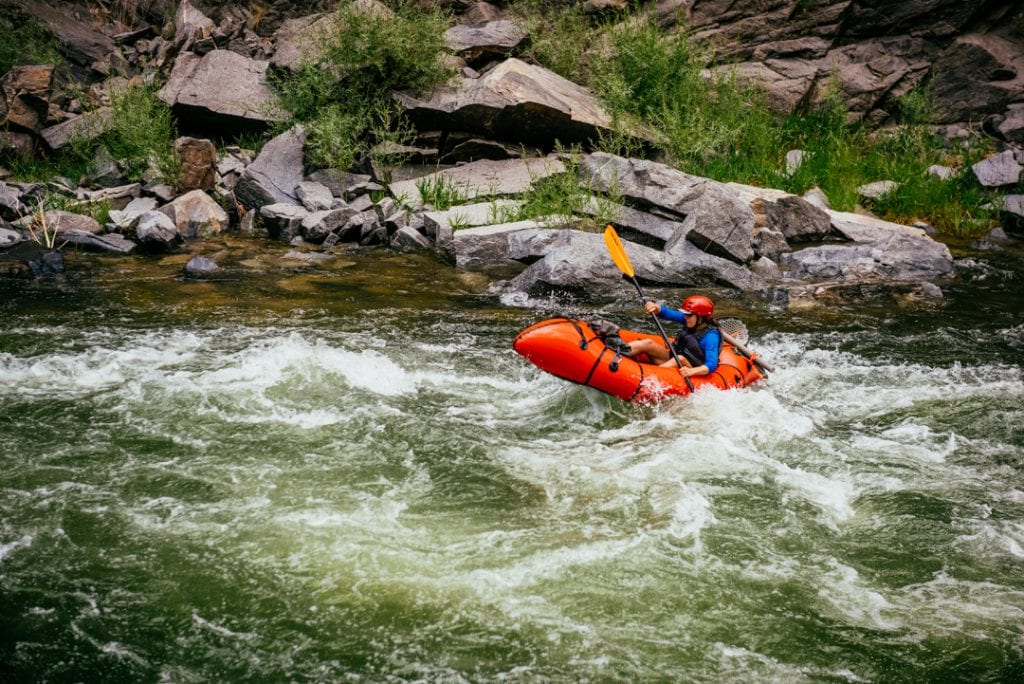
Ashley Tucker in the Gunnison Gorge, running Chukar out to Pleasure Park.

How to Get on the Water

No one wants to buy a $2,000 raft just to try a sport they’ve never done before. There are, thankfully, major fine purveyors of rental packrafts! These companies are generally located in major hubs of the packrafting world, such as northwest Montana, southeast Alaska, and southern Utah. Unfortunately, most of the rental options do not include the most sophisticated, specialized rafts or the ultralight drysuits that some rafters use. However, $200 for a week of trying out the sport is well worth it. Much like skiing, the boots and skis you buy before ever having slid on snow are not the skis you would appreciate later in your ski life.

Where to Paddle Then?

First of all, take the hint from the rental companies. Those guys know where the good rafting is. They live there! In terms of planning trips and heading out on packrafting adventures, topographic maps can serve almost all of your needs. Obviously, there are tons of trip reports on the internet, and you can certainly follow those routes. However, when setting off on your own adventure, most of the information you need is on a topo. Is it possible to get to the body of water you’re aiming for? Are there major, troubling features on that body of water? Where will it take you? Answer those questions, and the world is your oyster.

Please note that this story contains affiliate links, and at no additional cost to you, Huck earns a commission if you decide to make a purchase after clicking through the links above. We appreciate your support!

Download on the Apple App StoreDownload on the Google Play Store

Your Guide to Buying a Used Mountain Bike

Maybe you’ve ridden a few mountain bikes – a few demos, a few loaners from friends – and you are now committed to investing in the sport. Great, welcome! First, you’ll need a bike. New bikes are expensive, and cheap new bikes are rarely a good road to go down. So, you’re looking at a used mountain bike, but you’ve never owned or serviced one before. What needs regular maintenance? Should you worry about that scratch? Is this component easy to replace? There are many questions.

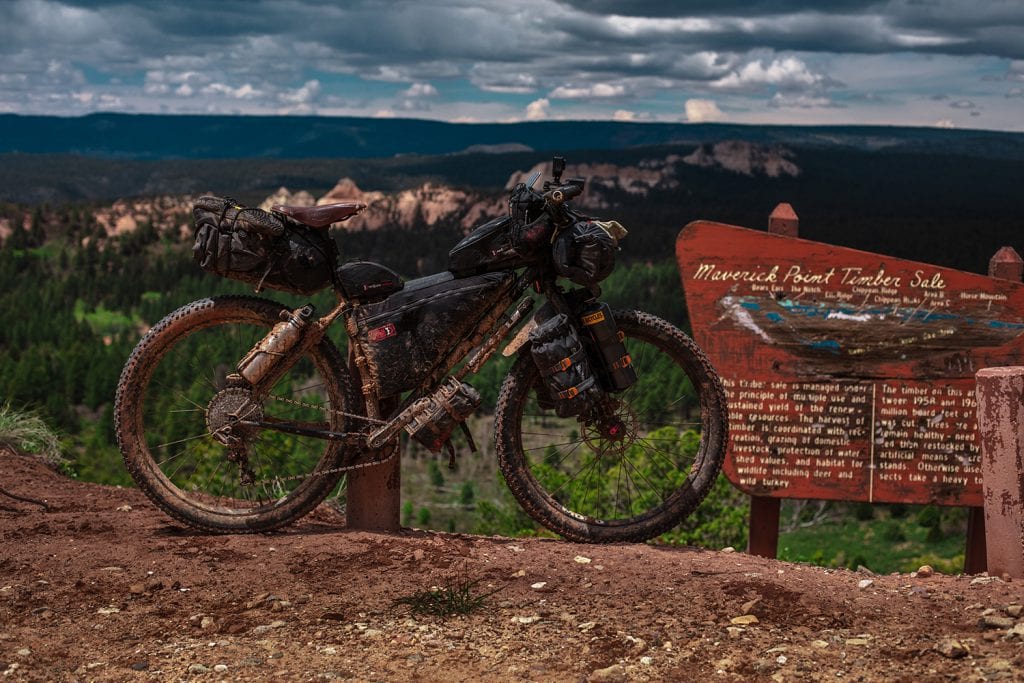
Muddy used mountain bike

Is this the right used mountain bike?

The paramount question on every buyer’s mind: is this the thing I want? It can be frightfully easy to get sucked into a good deal on that slick looking Y-frame with 9” of travel, but don’t let the seller fool you. You have to, first and foremost, figure out what you’re looking for. What kind of riding do you want to do? Lift-serviced downhill? Hard, human-powered laps on technical trails? Rolling flow track? 

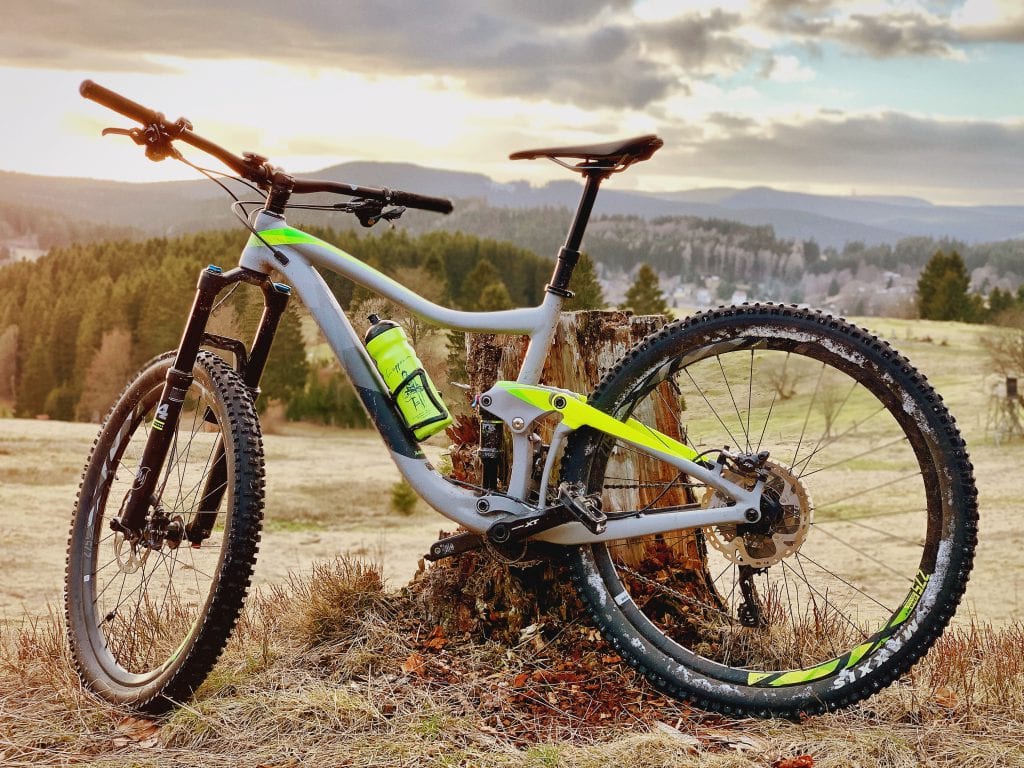
These questions will lead you to three main categories of bikes: downhill, enduro and cross-country (XC). Each has a different geometry (how the rider sits on the bike), a different suspension system (travel in each shock, number of shocks) and a different drivetrain (everything that connects the pedals and the rear tire). Downhill bikes have a lot of suspension, a downhill-oriented geometry, and a downhill-oriented drivetrain. XC bikes have little to no suspension, a more efficient pedaling geometry and a drivetrain meant for moving slow and fast-ish. Enduro bikes fall somewhere in between. 

So ask yourself: what will I be riding? And, what do I want to ride? If you’re not sure, an enduro or XC bike is probably the best bet, as those designs tend to be more flexible in terms of digestible terrain. Downhill bikes are pretty uniformly focused on flying down hard trails, not going on a ride in the forest. 

Is this used mountain bike in good shape?

A mountain bike has a lot of complex, moving parts, and you’ll need to service them most regularly. If the person you’re buying from doesn’t remember the last time they cleaned the drivetrain or serviced the shocks, that likely means the bike is due for some maintenance. A good rule of thumb is that the bike should be quiet. Here are some other quick inspection items:

  • Pedalling, braking and compressing the shocks shouldn’t release any alien screams or grinding noises from the bike. 
  • The shifting between gears should be smooth and quiet. 
  • The drivetrain should look clean, not greasy and dirty.
  • The brakes should be grabby enough to throw you forward in the saddle, and you shouldn’t have to pull them to the handlebar to feel them slow you down. 
  • The rear wheel shouldn’t make an irregular ticking when you spin it, and the wheels should spin true (the rims do not deviate laterally as you spin the wheel).
  • When you spin the wheels, they should spin freely for 20-30 seconds before slowing. If it stops after five to 10 seconds, it means there is friction in the axle, the brake disc, or the wheel itself.
  • If there is a dropper post, the seat post should slide smoothly and regularly up and down.
  • You should see crisp edges on the lugs, otherwise the tires are worn and have a shorter future lifespan.
  • The stanchions (inner tube on the front shock absorbers) should be clean and relatively damage free. Damage to these often spells trouble for the front shock.
  • The bottom bracket (where the cranks spin in the frame of the bike) shouldn’t click or feel resistant when you pedal or weight it.
  • If the bike is shiny, it likely means the owner took good care of it.

What components should you look for?

Not all components are created equal. Some function just fine, but are painful and expensive to replace. Some parts may be cheaply made. When buying a bike, even if the bits are shiny and clean, it might not be a good deal. A good rule of thumb is to stick with the major manufacturers — Shimano, Sram, Rockshox and Fox — and to a lesser degree, Hope, I9, Avid, and Stan’s, among other reliable minor brands.

A considerable portion of the expense of running a mountain bike are the buying of replacement parts. The used market is full of Shimano and Sram parts, so they tend to be cheaper and easier to find, whereas the niche brands force you to buy your parts retail, and not many stores carry, for example, Hayes brakes or parts. It’s hard to find the maintenance supplies for the niche brands, and I’ve personally been hung out to dry looking for Hayes pads. Bottom line: buy a bike with Shimano or Sram components and Fox or Rockshox suspension. Even if the deal is really sweet, most other components are going to cost more for maintenance than the discount you got buying the bike.

But what about…?

Armed with some tell-tale warning signs of a lemon, a savvy or not-so-savvy buyer can avoid regrettable Craigslist purchases. Will your new bike be perfect? No, of course not. But will it do what you want and work reasonably well doing so? I should hope so! The other failsafe to safeguard against buying a money pit of a bike is to meet the seller at a bike shop to have a professional give it look before you buy. Or, bring a friend along who knows a thing or two about bikes. Maybe they can dissuade you from that sweet-looking Gary Fisher from before you were born. Hopefully. Best of luck in your quest.

Please note that this story contains affiliate links, and at no additional cost to you, Huck earns a commission if you decide to make a purchase after clicking through the links above. We appreciate your support!