fbpx

Cool Weather Running: A Review of Tracksmith’s Session Pants and Brighton Base Layer

Tracksmith Session Pants and Brighton Base Layer

As a trail runner navigating the rugged and picturesque foothills of Boulder, Colorado, I’m constantly on the lookout for gear that can keep pace with my adventures while providing comfort and functionality. The Tracksmith Session Pants and Brighton Base Layer have become essential components in my training wardrobe, especially for those cooler morning runs.

Brighton Base Layer: The Foundation of Comfort

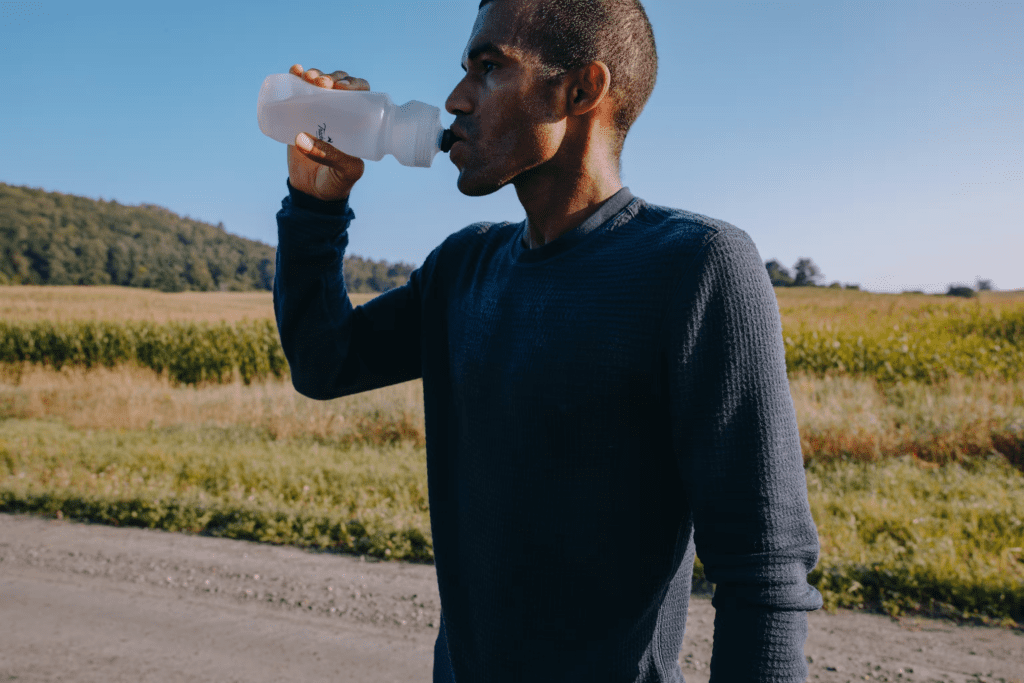
The Brighton Base Layer, crafted from an engineered Merino mesh, is a testament to thoughtful design and material choice.

Brighton Base Layer

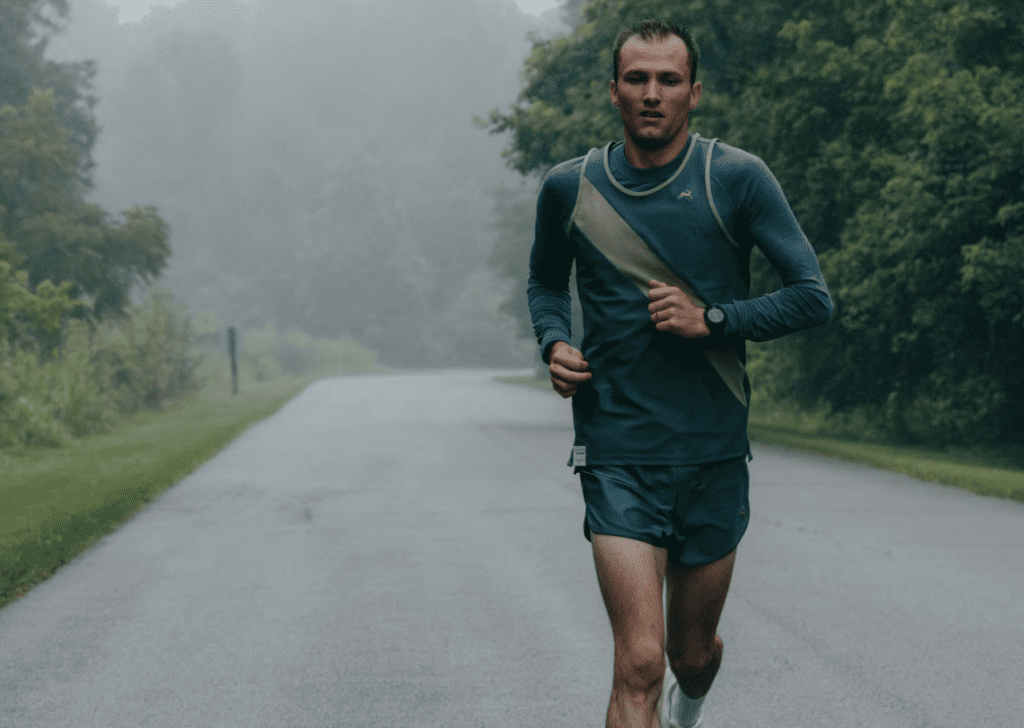
This seamless, lightweight long sleeve is a marvel in regulating temperature and managing moisture – crucial for those chilly starts that turn into warm strides.

Its Merino wool construction, a luxurious 16.5 micron blend, isn’t just soft and breathable; it’s a game-changer in odor resistance and warmth retention, even when damp.

The more open knit around the core, complemented by a closed knit on the sleeves, offers a balanced warmth perfect for layering or standing alone on milder days.

Brighton Base Layer

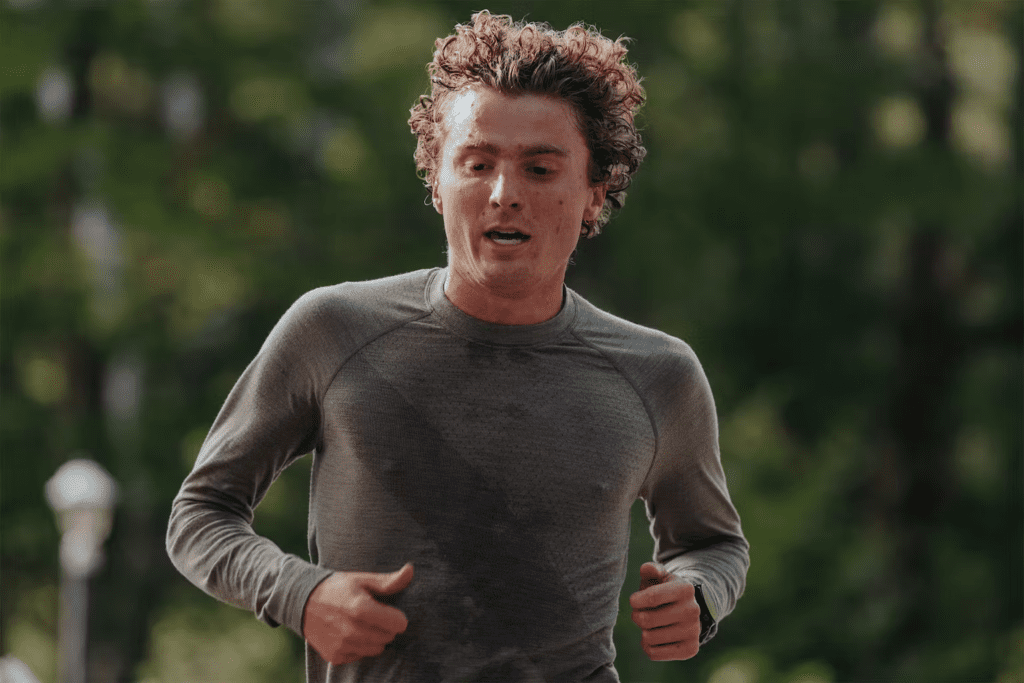
Wearing this base layer feels like a second skin, devoid of any irritation or chafing – a nod to the European seamless construction that rivals the comfort of my favorite pajamas.

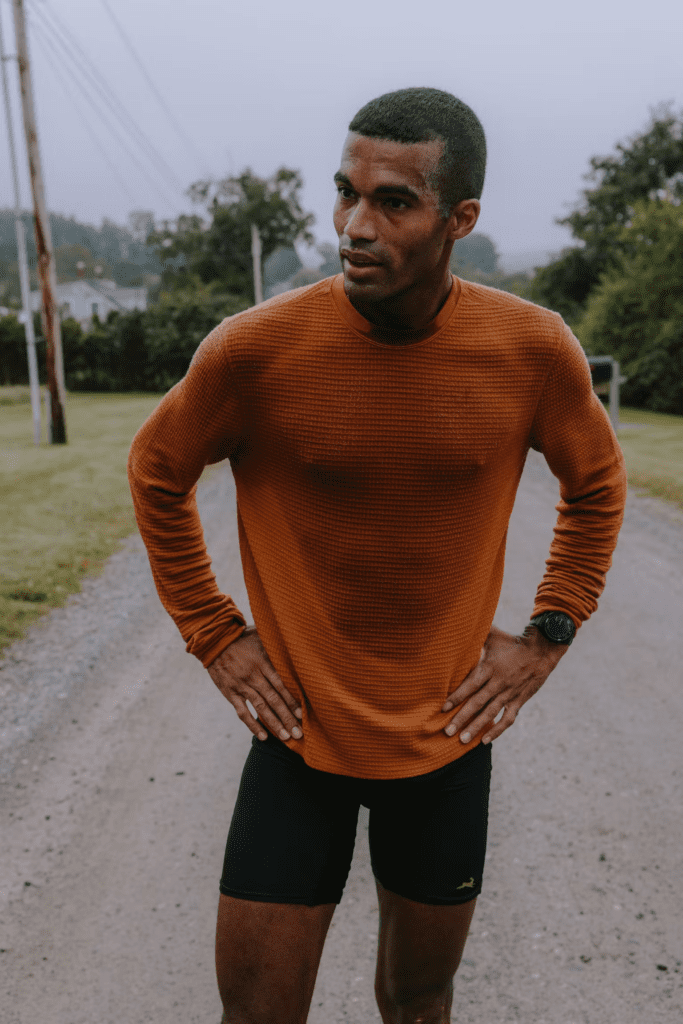
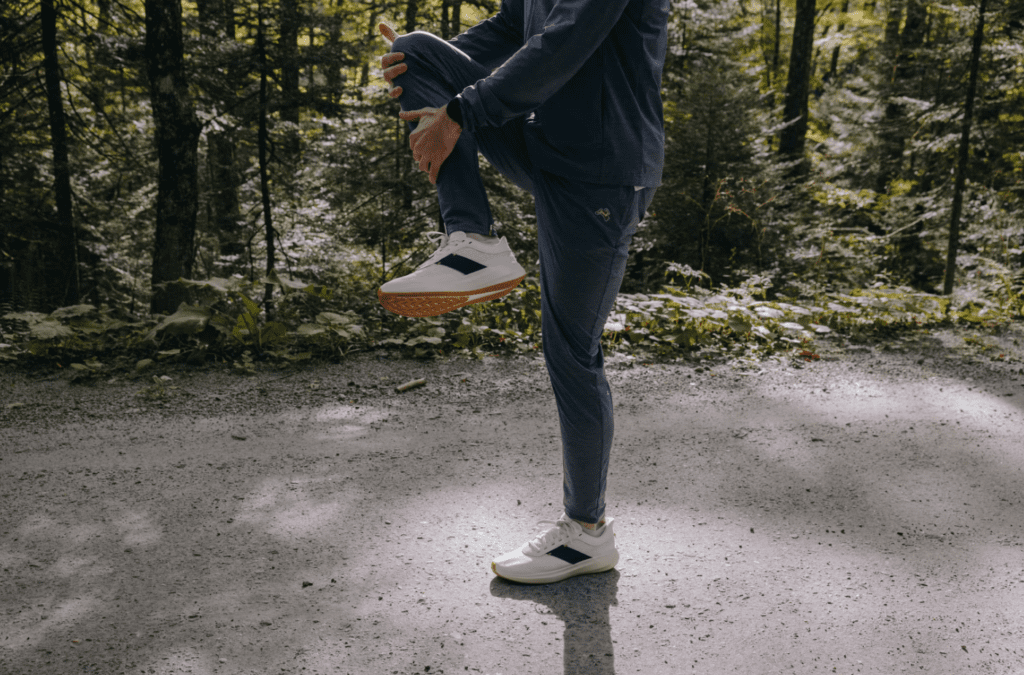
Session Pants: Every Runner’s Dream

Transitioning to the lower half, the Session Pants are a revelation for any-season training.

Session Pants

Their lightweight, ultra-soft, and breathable Veloce fabric, strikes a perfect balance between weight, stretch, and warmth.

These aren’t just another pair of running pants; they’re a versatile companion that adapts to temperature fluctuations and varying paces. The high-stretch knit fabric moves with my body, never clinging or overheating, even during more intense training sessions.

Session Pants

Functionality is boosted with thoughtful details like zippered pockets large enough for an iPhone Pro and extended ankle zippers for hassle-free wear. The Session Pants have become a steadfast ally in my training regimen, their comfort and durability ensuring they are with me for every run.

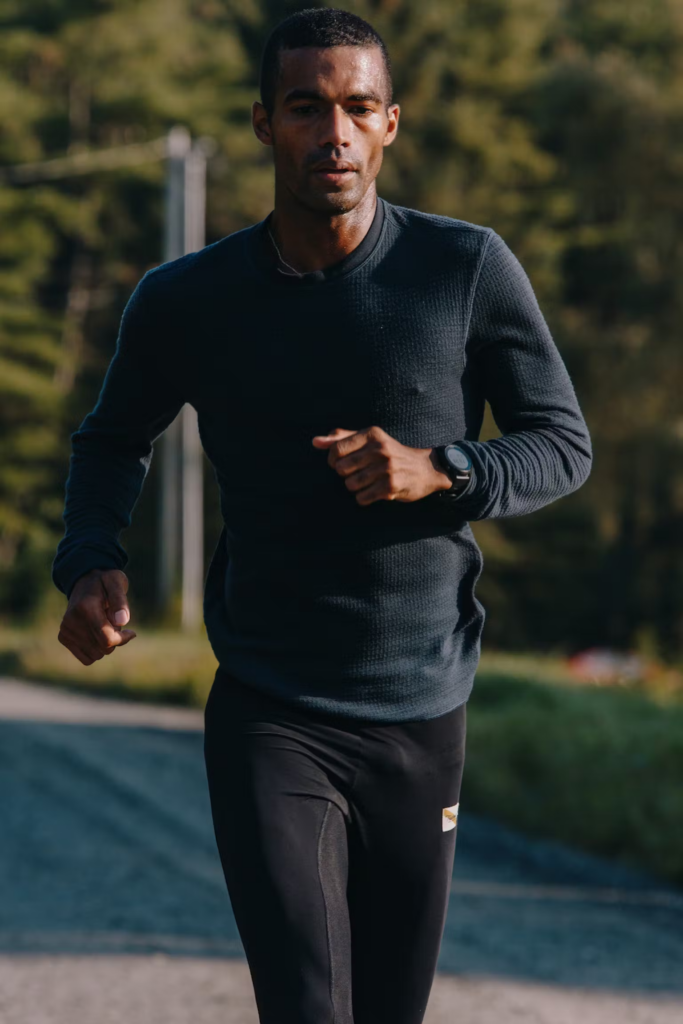
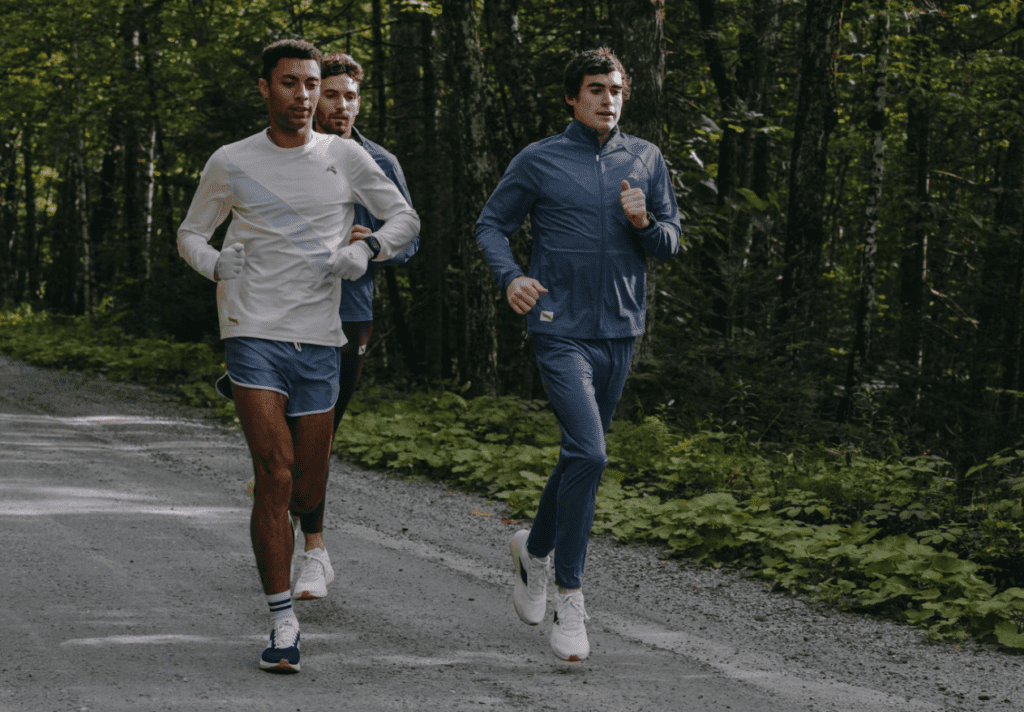
In Conclusion: Essential Gear for the Trail Runner

In Boulder’s unpredictable climate, the Tracksmith Session Pants and Brighton Base Layer have proven to be indispensable. Whether I’m gearing up for a long run in the hills or a quick morning jog, these pieces provide the comfort, functionality, and adaptability I need.

They’re more than just clothes; they’re a key part of my training arsenal, helping me tackle the trails with confidence and comfort. For any runner facing the elements and demanding the best from their gear, Tracksmith’s offerings are not just recommended, they’re essential.

Tracksmith Fells Waffle Layer Review: The Ultimate Cold Weather Running Companion

When the temperature drops and the trails call, every runner knows the importance of reliable, comfortable gear. This is where the Tracksmith Fells Waffle Layer comes into play, a garment that redefines cold weather running. In this comprehensive review, I’ll delve into how the Fells Waffle Layer, in combination with the Session Pants and the Brighton Base Layer, forms an unbeatable trio for those frosty morning runs.

Tracksmith Fells Waffle Layer

The Power of Merino: The Fells Waffle Layer

At the heart of the Fells Waffle Layer lies its unique Merino wool waffle knit. This isn’t just any base layer; it’s a testament to how traditional materials can be re-engineered for modern performance. The waffle pattern is designed ingeniously to trap air against the skin, providing an insulating layer that’s crucial in cold conditions. But that’s not all – as your effort increases, this same pattern allows heat to escape, preventing overheating and maintaining optimal body temperature.

Merino wool’s natural versatility is unmatched – it insulates, regulates temperature, and wicks away sweat. Unlike synthetic materials, Merino wool remains warm even when wet, a critical feature for those unexpected downpours or sweat-intensive runs. The Fells Waffle Layer elevates this with a blend of high-performing Merino wool and recycled polyester, offering the best of both worlds: the temperature regulating and odor-resistant qualities of wool combined with the durability and wicking capabilities of polyester.

Layering Up with Tracksmith: A Trio for Triumph

Running in cold weather isn’t just about staying warm; it’s about managing body temperature without sacrificing mobility or comfort. This is where the strategic layering of the Fells Waffle Layer, the Session Pants, and the Brighton Base Layer shines.

Tracksmith Fells Waffle Layer

The Session Pants are the perfect companion to the Fells Waffle Layer. Their lightweight, stretchable fabric, courtesy of the Italian-made Veloce blend, provides warmth without bulk, ensuring unrestricted movement during runs. The pants’ breathability and moisture-wicking properties complement the Fells Waffle Layer’s temperature regulation, creating a harmonious balance between warmth and ventilation.

For those especially brisk mornings, adding the Brighton Base Layer under the Fells Waffle Layer provides an extra shield against the cold. The Brighton’s seamless Merino mesh design works in tandem with the waffle knit, enhancing the thermal insulation while continuing to wick away moisture. This layering system ensures a comfortable, dry experience, regardless of the intensity of your run.

Experience and Performance: Tested in the Trenches

As a runner who has tested these pieces in the varying climates of winter mornings, I can attest to their performance. The Fells Waffle Layer’s non-scratchy, soft feel against the skin is a delight, while its odor-resistant nature means it’s always ready for the next run, even if laundry day is still far off. Its ability to adapt to changing body temperatures is nothing short of impressive, keeping me warm during the initial cool start and cool when the run intensifies.

The Session Pants are equally remarkable. Their comfort is unparalleled, feeling like a second skin, and their functionality is evident in every stride. The zippered pockets are a thoughtful addition, ensuring essentials are secure.

And when layered with the Brighton Base Layer, the system excels in providing sustained warmth and comfort. This trio has become my go-to for winter runs, offering a blend of warmth, breathability, and comfort that I’ve yet to find in other running gear.

Final Thoughts: A Winter Running Revelation

The Tracksmith Fells Waffle Layer, in concert with the Session Pants and Brighton Base Layer, offers a well-rounded solution for cold weather running. It’s a testament to Tracksmith’s commitment to quality, functionality, and runner-specific design. Whether you’re a seasoned trail runner or a casual jogger, this combination promises to enhance your cold-weather running experience significantly.

Tracksmith Fells Waffle Layer

In conclusion, for anyone looking to invest in high-quality, performance-oriented running gear, the Tracksmith Fells Waffle Layer and its complementary pieces are an excellent choice. They’re not just clothes; they’re a commitment to better, more comfortable, and more enjoyable winter runs. As a testament to their quality and functionality, this Tracksmith review highly recommends these products to any runner looking to conquer the cold.

Elevating Outdoor Culinary Adventures: The Solo Stove Pi Prime Pizza Oven Review

The Solo Stove Pi Prime Pizza Oven is not just a piece of equipment; it’s a transformative outdoor cooking experience. Its promise to be both simple for beginners and sufficiently advanced for the seasoned chef had me intrigued from the start. As someone who loves both the outdoors and gourmet cooking, I found the Pi Prime to be a perfect fusion of these passions.

Solo Stove Pi Prime Pizza Oven

First Impressions and Design

Unboxing the Pi Prime, I was immediately struck by its sleek and sturdy design. The stainless steel construction gave it a professional look and the feeling of durability that’s essential for any outdoor gear. Its panoramic opening is not just a design element; it’s functional, allowing me to watch the pizza as it cooks, adding to the anticipation.

Ease of Use – A Beginner’s Perspective

Solo Stove Pi Prime Pizza Oven

Setting it up was a breeze. The intuitive design meant I didn’t have to fumble through complicated instructions. Within 15 minutes, the oven was preheated and ready to go – a feature that can’t be overstated when you’re hungry and outdoors. The front-facing temperature control felt like having a professional kitchen tool in the wild, allowing me to adjust the flame and heat with surprising precision.

Performance – The Proof is in the Pizza

Solo Stove Pi Prime Pizza Oven

The performance of the Pi Prime is where it truly shines. The demi-dome design and the cordierite stone surface work in tandem to create the perfect cooking environment. My first attempt at a pizza resulted in a beautifully crispy crust with a perfectly melted top – a result I had previously thought was only achievable in high-end pizza ovens.

Personal Cooking Experience – Tips and Tricks

Solo Stove Pi Prime Pizza Oven

As with any new cooking tool, there was a learning curve. Mastering the art of sliding the pizza off the peel took a few tries. My trick was using a mixture of flour and coarse cornmeal, which proved to be a game-changer. Remembering to give the peel a little shake with each added topping ensured the pizza didn’t stick. Once in the oven, rotating the pizza after the initial 20 seconds made sure it cooked evenly. In just 90 seconds, I had a pizza that could rival those from artisan pizzerias.

Versatility and Portability

One of the most impressive features of the Pi Prime is its portability. Weighing just over 30 lbs, it’s surprisingly easy to transport, making it a staple for my camping trips and scout events. It’s fascinating to see how a device like this can transform a typical outdoor meal into an extraordinary culinary experience. It’s a great way to teach young scouts or family members about cooking, and it certainly beats the usual hot dogs and mac and cheese.

Elevating Outdoor Events

Solo Stove Pi Prime Pizza Oven

Using the Pi Prime at scout events has been particularly rewarding. Preparing the dough and toppings beforehand turns pizza-making into an interactive group activity, much to the delight of the scouts. It’s a fantastic way to introduce them to the joys of cooking and to elevate the typical outdoor meal experience.

Conclusion

After several uses, I can confidently say that the Solo Stove Pi Prime Pizza Oven is a revolutionary addition to outdoor cooking. Its combination of ease of use, superb cooking performance, and portability makes it ideal for a wide range of outdoor activities. Whether you’re an experienced chef or new to cooking, the Pi Prime is a rewarding investment that brings a touch of gourmet to the great outdoors. It’s not just about making pizza; it’s about creating memorable experiences wherever you go.

Homemade Pizza Dough Recipe for Perfect Crusts

Solo Stove Pi Prime Pizza Oven

Create delicious, homemade pizza crusts with this simple yet classic recipe. Ideal for your next outdoor adventure with the Solo Stove Pi Prime Pizza Oven or a cozy night in. This recipe yields up to four 10-inch crusts, perfect for a family gathering or a small party.

Ingredients:

  • 2 cups warm water (105 degrees F)
  • 2 tablespoons granulated sugar
  • 2 tablespoons active dry yeast
  • 2 tablespoons olive oil
  • 4 to 5 cups all-purpose flour
  • 2 teaspoons fine sea salt

Instructions:

  1. Prepare the Yeast Mixture:
    • In a large mixing bowl, combine the warm water and granulated sugar. Stir until the sugar is mostly dissolved.
    • Sprinkle the active dry yeast over the water-sugar mixture. Let it sit for about 5 minutes, or until the mixture becomes frothy, indicating the yeast is active.
  2. Mix the Dough:
    • To the yeast mixture, add the olive oil, 4 cups of flour, and sea salt. Using a wooden spoon or a dough hook attachment on your mixer, begin to mix the ingredients. If the dough is too sticky, gradually add more flour (up to 1 additional cup) until the dough begins to form a cohesive, elastic ball and pulls away from the sides of the bowl.
  3. Knead the Dough:
    • Turn the dough out onto a lightly floured surface.
    • Knead the dough by hand for about 10 minutes or until it is smooth and elastic. Add a little flour if the dough becomes too sticky, but be careful not to add too much, as this can make the dough tough.
  4. First Rise:
    • Place the dough in a clean, oiled bowl, turning it once to coat the entire ball of dough with oil.
    • Cover the bowl with a damp cloth or plastic wrap, and let the dough rise in a warm, draft-free area for about 1 hour, or until it has doubled in size.
  5. Punch Down and Divide:
    • After the first rise, punch down the dough to release any air bubbles.
    • Divide the dough into four equal parts for individual pizza crusts.
  6. Second Rise:
    • Shape each portion into a ball and let them rest, covered, for another 30 minutes. This allows the gluten to relax, making the dough easier to shape.
  7. Shape the Pizza Crusts:
    • On a lightly floured surface, start shaping each dough ball into a 10-inch round crust. You can do this by gently stretching the dough with your hands or using a rolling pin. Aim for an even thickness throughout.
  8. Prepare for Baking:
    • Preheat your pizza oven or regular oven. If using the Solo Stove Pi Prime Pizza Oven, follow the manufacturer’s instructions for preheating.
    • If you’re using a regular oven, preheat it to its highest setting, typically around 475-500 degrees F, and place a pizza stone or an inverted baking sheet inside to heat.
  9. Top and Bake:
    • Top your pizza crusts with your favorite sauce, cheese, and toppings.
    • Using a pizza peel, transfer the pizza onto the hot stone or baking sheet in the oven.
    • Bake for about 10-15 minutes, or until the crust is golden and the cheese is bubbly.
  10. Enjoy:
    • Remove the pizza from the oven, slice, and enjoy your homemade creation!

Remember, the key to a perfect pizza crust is in the kneading and the rise. Don’t rush these steps, and you’ll be rewarded with delicious, homemade pizza every time!